All over the world, children are creating signs, rainbows, hearts, and other symbols of hope to lift spirits during this time.
If you’re looking for activities to keep your little ones busy, why not join in this movement? They’ll love the craft time with mom or dad and your neighbors will love seeing their handiwork.
Here are a few of our favorite window craft projects for kids. Adapt them to your little one’s skill level and let their creativity blossom!

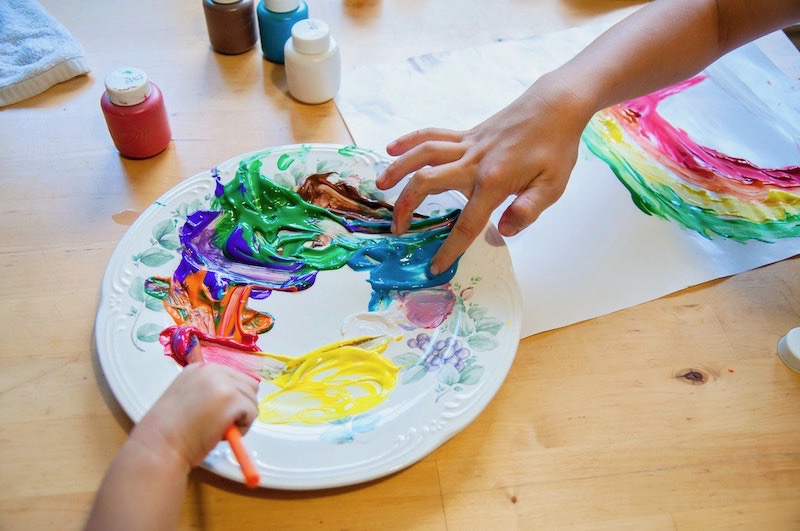
1. Painting & Drawing
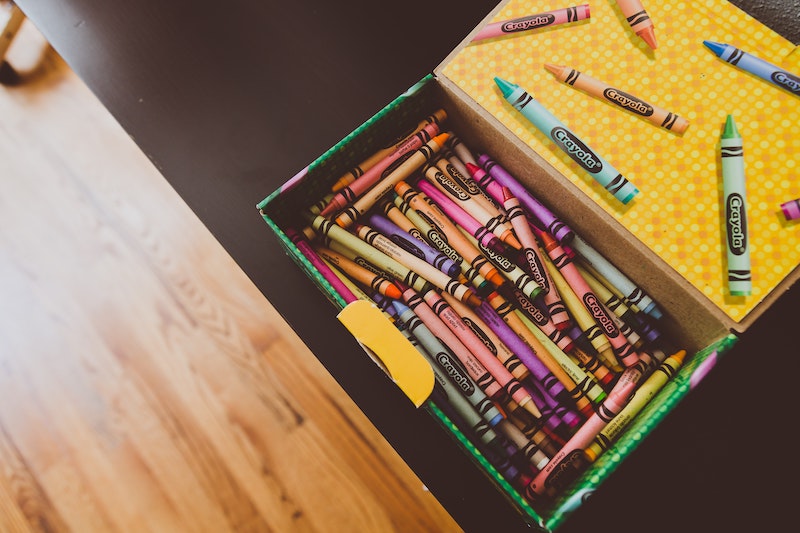
For most kids, nothing beats having a blank piece of paper and crayons, markers, or paint. Let your kids draw or paint rainbows, hearts, or other cheerful symbols to put in your windows. Older kids can create signs to thank essential workers or share quotes that make them happy.
To create bigger pieces, you can use poster board or cut open paper grocery bags and use the blank inside as a canvas.
2. “Stained Glass” Suncatchers
This is a fun window art project that uses materials you probably already have: wax paper, colorful tissue paper, white glue, and a paintbrush! The end result is a beautiful “stained glass” piece that is sure to brighten anyone’s day.
Start by gathering your materials. Tear off a piece of wax paper big enough for your child(ren) to create a design on. It’s a good idea to put newspaper under their piece of wax paper since this can get messy. You can also use painter’s tape or masking tape to secure their wax paper to their work surface.
Before they get started, have them think about what kind of suncatcher they’d like to create: a colorful, abstract window or a design like a rainbow or butterfly. If they’re going to create a design, have them draw an outline on their piece of wax paper with pencil. If they opt for an abstract design, they can skip the sketching!
Next, have your child(ren) tear or cut the tissue paper into small (but not too small!) pieces. These will be their pieces of “glass.”
While they’re doing that, you can mix up the glue they’ll be using. Since they’ll brush the glue over the pieces to seal it all together, you’ll need to water down the glue just a bit. Simply combine 2 parts white glue with 1 part water and mix well. This will easily brush over the tissue paper and seal everything.
When they have their tissue paper pieces arranged, they’ll carefully brush on a layer or two of the glue mixture. It’s easiest to do this one or two pieces of tissue paper at a time. Let it dry and it’s ready to hang in the window!
3. Tin Foil Hearts
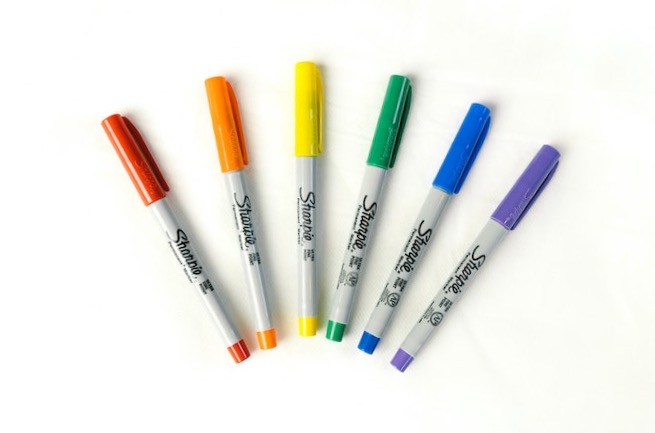
This is another craft that uses what you already have! To make tin foil hearts, you’ll need cardboard (a cereal box or similar box will work perfectly), aluminum foil, and permanent markers (washable markers will wipe off of the foil).
Simply cut a heart out of the cardboard and tear off a piece of foil slightly bigger than the heart. Wrap the foil around the heart and decorate! Make different sizes to create a cheerful window display!
4. Coffee Filter Butterflies
Butterflies are a symbol of renewal and good luck, making them the perfect way to spread cheer! This classic craft is a great project for kids to decorate windows, and you can even turn it into a lesson on butterflies.
For this window craft, you’ll need coffee filters, washable markers, pipe cleaners, and a little bit of water.
Start by stacking two coffee filters. Flatten them out with your hand so they’re easier to draw on. Have your child(ren) color them, being sure to leave some white space. You’re going to make the designs run so you’ll want to have some white spaces for the ink to run to!
Once they’re colored, drip water over the filters. You can put the coffee filters on a baking sheet to make this part less messy. An eyedropper makes dripping water easy but you can also use a spray bottle, a spoon, or just drip it with your fingers. The ink will start to run, creating a tie-dye effect. Once the filter is completely wet, let them dry. Depending on how much water you dripped on them, this may take a few hours or even overnight.
When they’re dry, pull them apart and fold each one of them up like an accordion. You should have two strips. Put them on top of each other and twist your pipe cleaner around the middle, making a “V” shape up top for the butterfly’s antennae. If you don’t have pipe cleaners, you can clip the middle with a wooden clothespin.
Curl the tops of the antennae and pull apart the folds in the coffee filters to create the butterfly’s wings. You should now have a beautiful butterfly to hang in your window!
Cleaning Up
We know craft time can get messy! If your little Picasso gets paint, markers, or other art supplies on our windows, cleaning is a breeze! Our vinyl frames can be cleaned with glass cleaner or a vinegar/water solution and a soft cloth or sponge. Just don’t use bleach as it’s too harsh and can damage your windows.
Even permanent marker is relatively easy to get off of windows! If you get permanent ink on your windows, try wiping the stain with rubbing alcohol or an oil-based lubricant like WD-40. Be sure to wipe the cleaner off with a damp cloth and finish with glass cleaner.
Share Your Creations With Us
We want to see what you create! When you share your window art projects on social media, be sure to tag @windowworld!